
Food photography for delivery apps: what works at thumbnail size
On a delivery app your dish is a small square on a phone. How to shoot food that still looks good at that size.
On this page
Most food photography is made to be seen big: on a menu board, a website banner, a magazine page. On a delivery app, your dish is a small square on a phone screen, next to twenty others, seen for less than a second. That changes almost every rule.
Fill the frame with the food, shoot one clear hero per photo, use strong natural light and a plain background, and keep the same style across the whole menu. Show the dish as it will arrive. If it does not read at thumbnail size, it does not work.
Design for the thumbnail
- Fill the frame. The food should take up most of the image. Empty table and props shrink the dish to nothing at small sizes.
- One hero per photo. A burger photo is a burger, not a burger with fries, three sauces and a drink.
- Contrast wins. Colourful food on a plain, darker or neutral background reads instantly. Beige food on a beige plate disappears.
- Pick the angle by the dish. Top-down for bowls, pizzas and platters. A low, three-quarter angle for burgers, sandwiches and anything with layers.
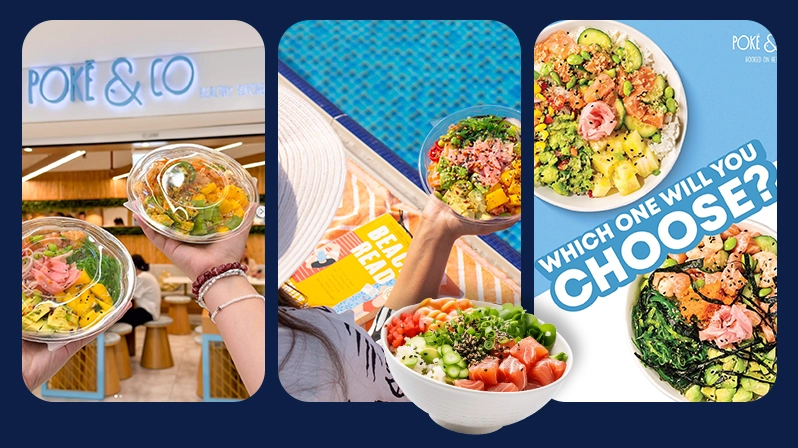 Your shoot, as approved on a laptop
about 320px wide
Menu card on a phoneabout 150px wide
Search result thumbnailabout 72px wide
Sizes are approximate and vary by app and phone. Judge every shot at the smallest one.
The payoff is well documented. Grubhub tells its restaurant partners that food photos can lift online orders by 30% or more (as reported by Snappr).
The cover image is a different job
Your restaurant's cover or banner image is the first thing people see in a list of results. It decides whether they tap at all. It should show your signature dish, close and appetising, with nothing that will be cut off when the app crops it. Check how it looks in the app on a phone after uploading; every app crops differently.
Show what arrives
A photo that looks better than the food on arrival wins the first order and loses the rating. Shoot real portions, made by your own kitchen, on the day. Many brands now show the dish in its delivery packaging for exactly this reason: customers know what to expect, and reviews mention "exactly like the picture".
Make the menu look like one brand
A menu where every photo has a different background, light and angle looks like a stock library. Pick one background, one lighting setup and one or two angles, and shoot the whole menu in one or two sessions. Consistency makes the whole listing look more trustworthy.
Cover image (landscape, signature dish). One photo per item, same background and light. Combos laid out together. Two or three close-up detail shots (cheese pull, sauce pour) for social. Ten seconds of video per hero item for reels.
Photos instead of discounts
For a premium Korean café we replaced discount badges with hero photos, set menus and signature tags, and kept the discount at 4 to 5%. Menu conversion went from 16% to 28%. Good photography is one of the few things that makes customers pay full price on an app.
Can you shoot it on a phone?
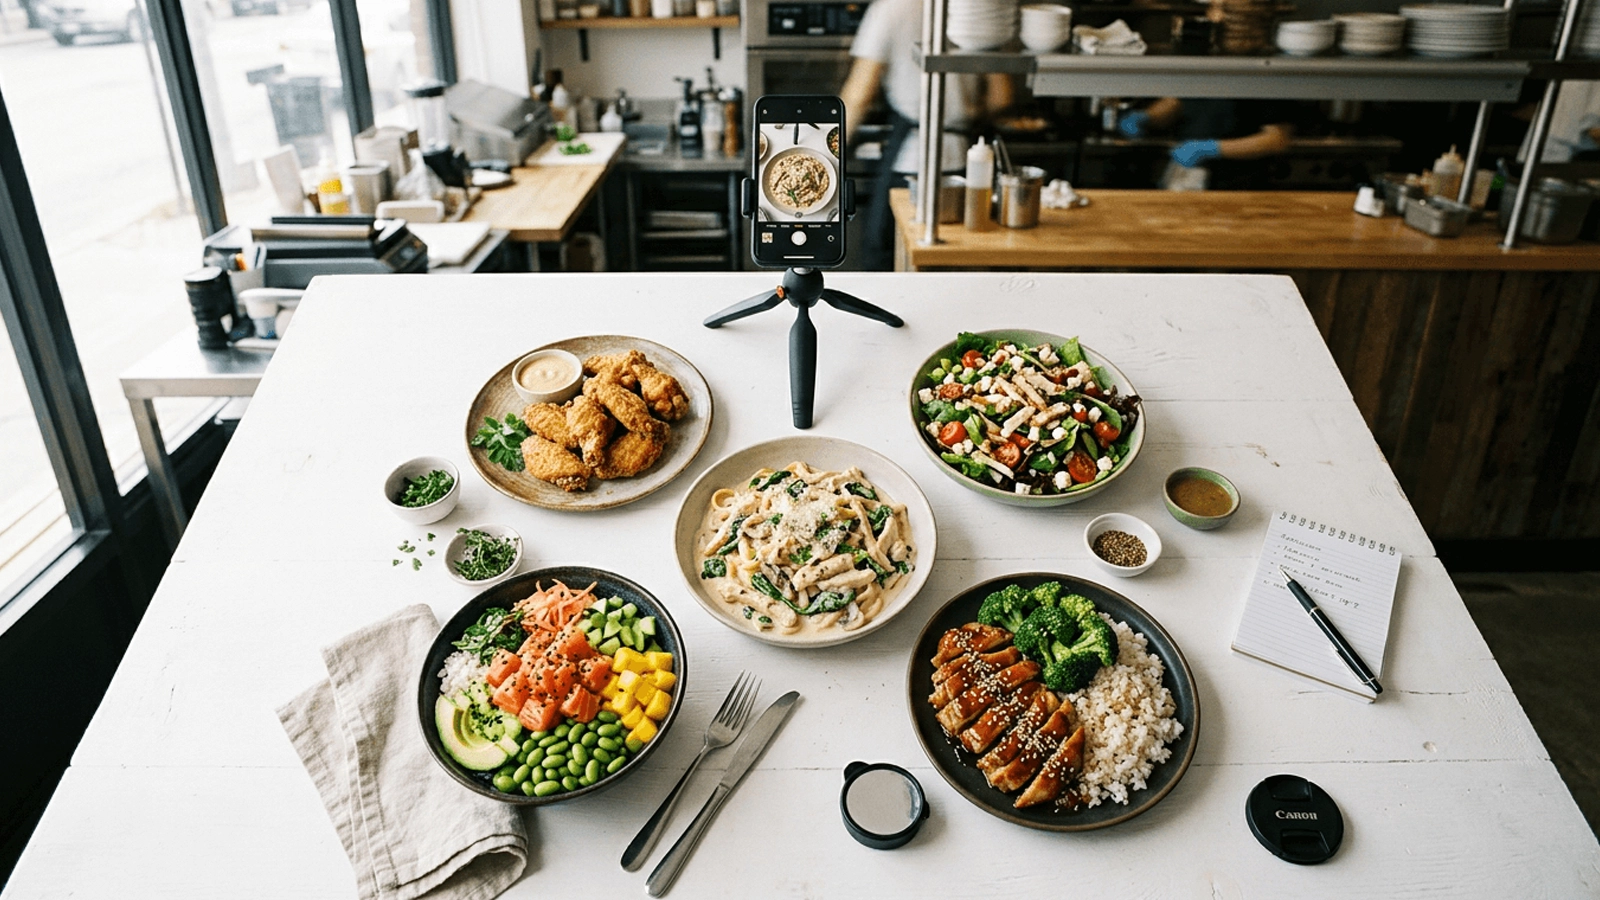
Yes, for a start. Use window light, turn off the flash, clean the lens, and shoot from a fixed position so every photo matches. A professional shoot pays off when the menu is stable and the brand is ready to scale, because good photos keep working for years and across social, ads and packaging too.
Photos get you chosen once people find you. To get found in the first place, read naming menu items for app search.
Annie plans the social campaigns, creator partnerships and content that send hungry people to the apps.
More from Annie
 Mohammad Intekhab Alam